

I have an exciting tutorial for you today! I really wanted to show you how to make this manicure because I love the way it looks. I recently did this manicure which I posted here: http://handtasticintentions.blogspot.com/2013/06/chevron-ombre-nail-art.html. It is so easy to do and it really doesn't take much time at all. I can't take credit for creating this look, as I found it online while browsing one day. Unfortunately, I can't remember who originally inspired me. If I can find it again, I will update this post. In the meantime, I wanted to teach you all how to do this simple yet trendy look. You don't need any special tools, which makes this really easy for a beginner. Here are the only supplies I used:

Nail polish, of course. From left to right: Seche Vite Top Coat, Essie "Rock the Boat", China Glaze "Turned Up Turquoise", OPI "Can't Find my Czechbook". I like to use complimentary colors, but you can use whatever you like.

Regular tape and scissors.
I like to tear off a couple pieces of tape and then cut the pieces in half so there are no zigzag lines from the dispenser. You want to use two sharp and straight edges.

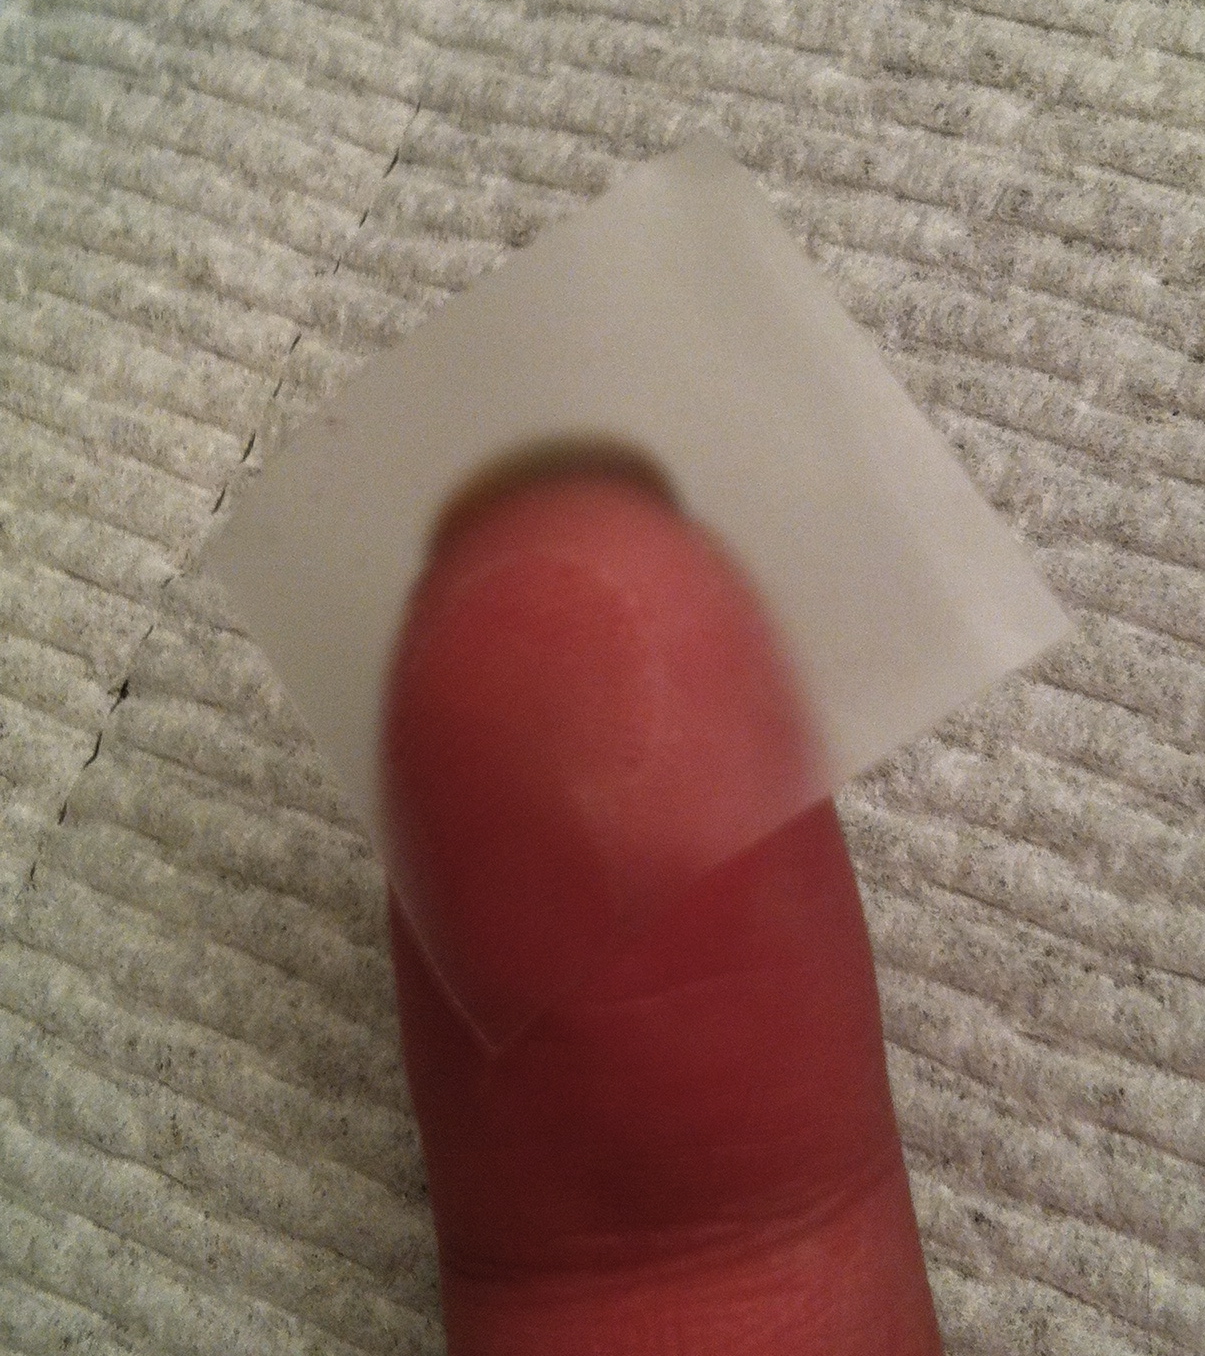
1. Paint all your nails a color of your choice (in my case Rock the Boat). Let it dry completely and when it is dry, place a piece of tape on the base of your nail, like pictured.
2. Paint on the next color of your choice (in my case Can't Find My Czechbook). It doesn't matter how much nail polish you get on the tape.
3. Carefully pull off the tape while the polish you just applied is still wet.
4. After that layer dries completely, place a piece of tape further down the nail. Try to space it so that the layers are even.
5. Apply the third color of your choice (in my case Turned up Turquoise).
6. Carefully pull the tape off while the polish is still wet, just as you did for the previous layer and you have completed the final layer! Just clean up your cuticles if needed and apply your favorite top coat. My favorite is Seche Vite, but you can use whatever you like!
Here is the finished look:

No comments:
Post a Comment