Recently I picked up some nail polish at Walgreens on sale. I got 1,000 points for buying two Sinful Colors polishes and they cost me $0.99 each! There was a new display on the end cap, and I found two lovely shades. Skylark is a bright orange yellow leaning color and Song of Summer is a light mid-tone green. I can't really tell if Song of Summer leans more yellow or blue. Here is Skylark:
Outdoors
Outdoors in shade
I applied two coats of Skylark. The formula was consistent with what I have grown accustomed to from Sinful Colors. The polish is fairly runny but can get a little gummy. This color is pretty bright but great for summer. It reminds me of an Illamasqua shade called Purity. I don't own it, so I'm not sure if this is a dupe for it or not, but it could be. I have been wanting to get Purity for a while now, so this could satiate that! Now let's get to Song of Summer:
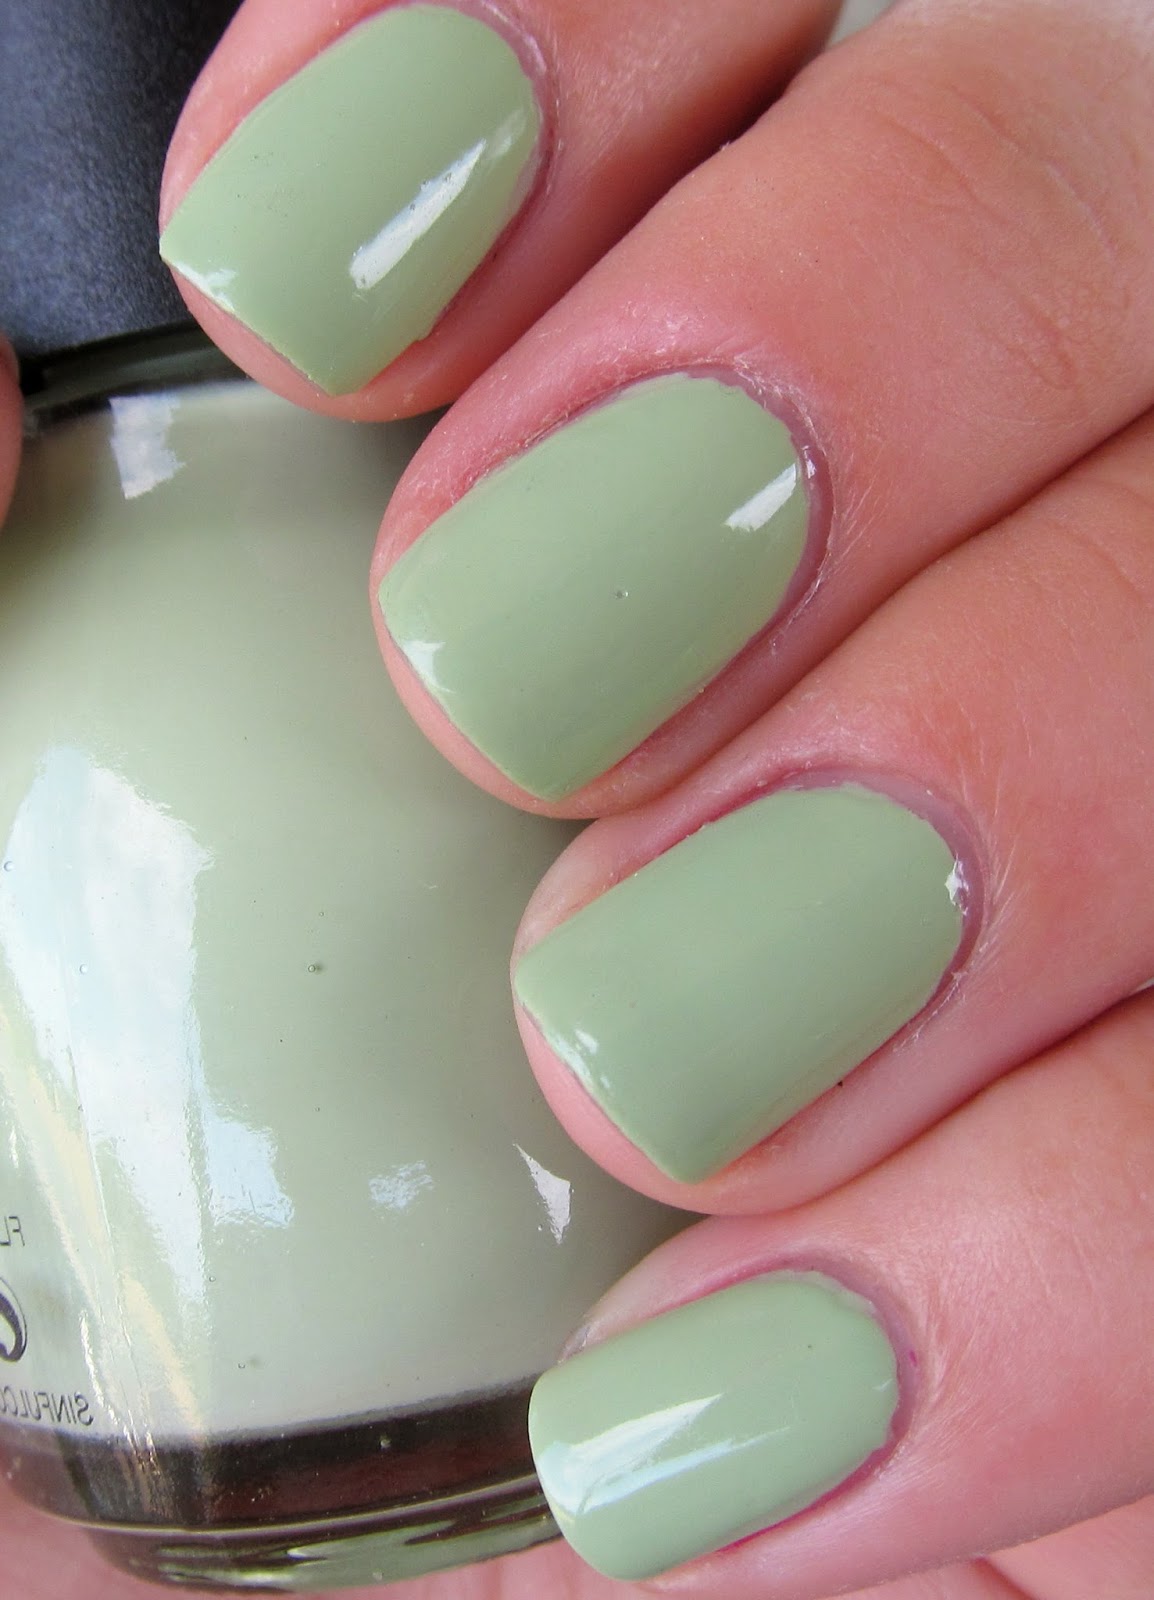
Song of Summer was great! I applied one very careful coat. I could have done two, but I wanted to see if one would work. It covers well, but it can get patchy. This one has great coverage and a beautiful green color. It isn't too bright or too showy which is great if you like to wear brighter colors to work.
Overall I think these are both a great deal. I love these colors and for the price, you really can't beat it. If you are looking for some good summer colors, these would be great in any collection. Thanks for reading!


